How Long Should a Sprint Retrospective Meeting Last?

When a football game ends, teams gather in the locker room to discuss it. Coaches analyze the game and look for possible ways of improvement to make the next game better. In the same way, Agile teams organize sprint retrospectives, to discuss what went well and what can be improved.
No matter how great a Scrum team is, there is always room for improvement. Successful teams look for improvement opportunities all the time.
And they formalize the process of improvement by allocating specific periods of time at the end of a sprint to focus on the work done and reflect on it.
But how long should teams spend on that process?
To figure out how much time to budget for your retrospective, let’s consider what needs to happen in the meeting so we can apportion enough time to get the best results.
How Much Time Should You Spend on Retrospectives?
A sprint retrospective is at its core “lessons learned” discussion. All the participants gather to discuss what went well, what problems they experienced, and what actions they can take to avoid such problems in the future.
The main purpose of retrospectives is to improve and adapt processes, as well as to plan the implementation of these improvements.
Anything that influences the way the team develops the product is open for discussion, including tools, communication, processes, and methods of work.
Different retrospective templates can help you figure out what the team got stuck on, focus on celebrating wins, or use the retrospective to analyse your product build quality.
The actual concept of retrospectives was first presented by Norm Kerth in 2001.
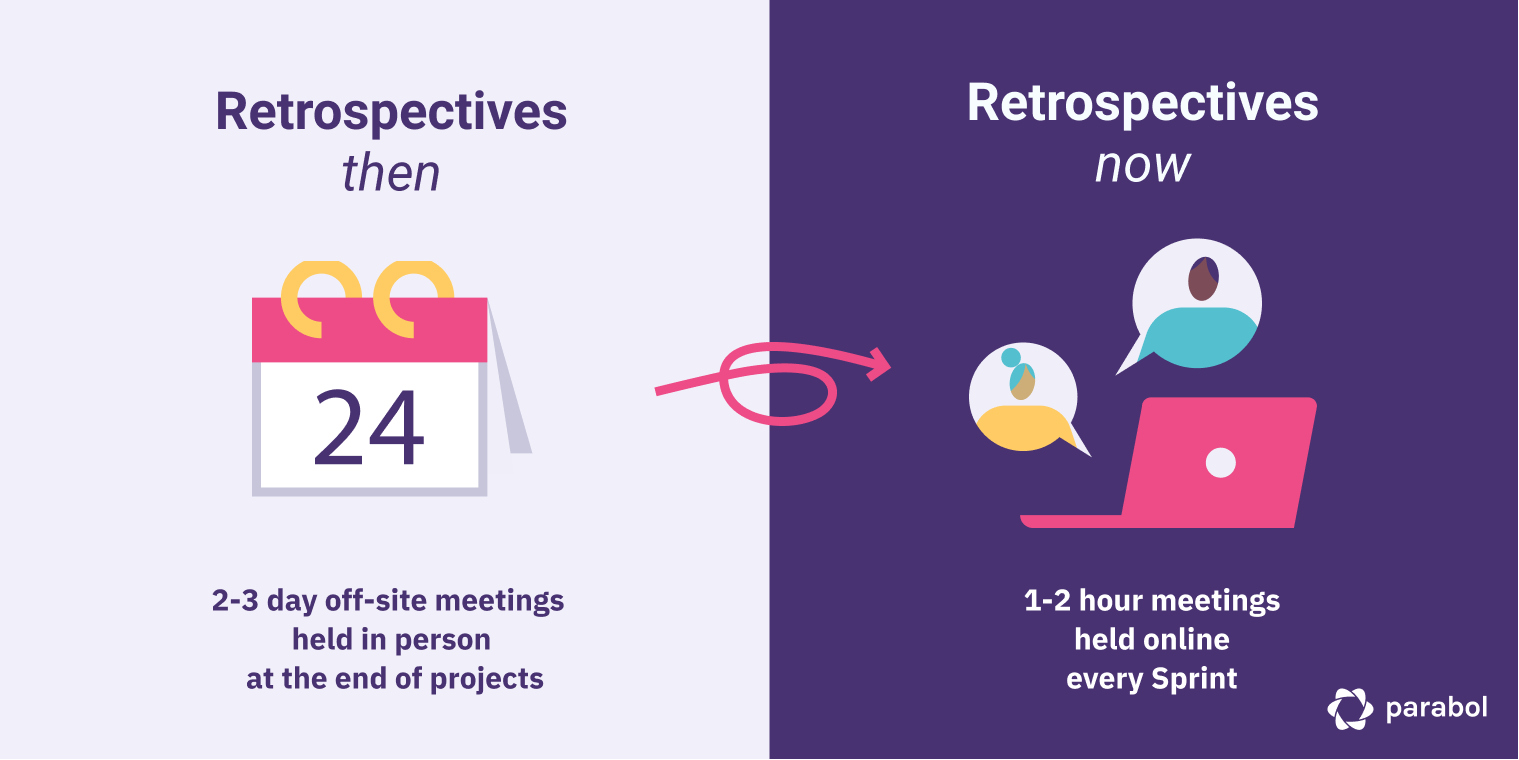
In Norm Kerth’s book, Project Retrospectives, a retrospective is described as a three-day offsite meeting.
Since then, the agile community has changed and developed this concept, making it a part of every iteration. Retrospectives have become well-structured now and include specific phases that were outlined by Diana Larsen, Esther Derby and Ken Schwaber in their book Agile Retrospectives: Making Good Teams Great.
We’ll go into more detail about how to apportion time for those phases shortly.
In her book Agile Retrospectives, Rachel Davis describes five phases of a sprint retrospective, but she doesn’t provide any specific recommendations regarding time.
The Scrum Guide says that:
“This is at most a three-hour meeting for one-month Sprints. For shorter Sprints, the event is usually shorter.”
Quite often, teams dedicate about 30 minutes per week to reviewing the progress. In a two week sprint that might add up to an hour of time.
If you’re working with one-week iterations, the chances are that long retrospectives will be unnecessary. At the same time, a monthly retrospective may take about two hours.
How to Use your Retrospective Meeting Time
Retrospectives are split into different phases that each last a different amount of time.
Let’s break a sprint retrospective down into those key phases and set a time limit for each one so you have a Retrospective framework for your next meeting.

1. Break the ice to get everyone talking (5-10 mins)
Start your retrospective off with an icebreaker to get everyone speaking early. When you have a mixture of introverts and extroverts in the room it can be difficult to make everyone feel safe contributing. So set a positive and friendly tone by running a quick icebreaker round.
This can be as simple as asking the team: “What emoji represents you today”, to get a sense of your team-mates’ moods. Or ask deeper questions, like “What would your spirit animal be” that reveal deeper insights about your team members.
Regular icebreakers help the team feel safe around each other and help improve the level of open-ness during reflections and discussions.
Facilitator pro tip: Consider answering your icebreaker question first. It helps the team feel safe and set expectations about how long team members should spend responding.
2. Reflect on what went well and what can be improved (5-10 mins)
Give your team the time to reflect on the past sprint. You’ll want to give teams enough time that they can come up with thoughtful reflections, but you don’t want to spend too much time on this phase because the real value of the retrospective comes from the discussion at the end.
Try setting a timer for between 5-10 minutes so everyone knows how long they have to add reflections.
If you want to save time during the meeting, consider opening your retrospective board at the start of the sprint. Inform your team that they should add reflections before the meeting starts. And if you need to, give people just 2 minutes at the start of the meeting to add any additional reflections.
Opening your retrospective board at the start of the sprint may aid those who ideate more slowly and help reduce recency bias at the end of busy sprints. It may also help teams who are working across time zones to add reflections at a time that works for them.
Facilitator tip: Encourage teams to be specific and detailed with their reflections. When reflections are more detailed, they are easier to group and discuss.
3. Group your reflections into themes (3-5 mins)
Next, you will reveal all of the reflections. It’s good practice for the facilitator to read reflections out one by one so everyone has the time to process them and observe trends. Initial grouping of reflections can take anything between 2-3 minutes.
The next step is to begin grouping those reflections according to emerging themes. If everyone has submitted reflections anonymously, this will give you a clear idea of the common tensions the team are feeling, or the things everyone wants to celebrate together!
This is an exercise everyone can take part in, collaboratively grouping reflections.
Now, give the groupings a final check and ensure that everything is appropriately classified. This is important because you want to make sure that the groups are truly representative of discrete issues that can be discussed. This final check should take 1-2 minutes.
Facilitator tip: Before you move onto the Voting stage, ask the team to confirm they are happy with the groups. If not, give them an opportunity to re-group reflections.
4. Vote on the items you want to discuss (3 mins)
Next you’ll individually vote on what items you want to discuss. Give your team a fixed number of votes, so everyone has an equal say, and ask team members to upvote the reflection groups that are most important to discuss.
This should be the quickest part of the retrospective process since it does not involve ideation like in the reflection stage, or pattern-spotting like in the group stage. You can vote using a dot-voting approach, or in an online tool by upvoting or giving a thumbs up to a specific group.
How long voting takes may depend on how many groups there are to choose from (if there are only 4-5 groups, voting will be quicker than if there are 9-10, for example). It may also be quicker if some groups consist of many reflections – indicating that there is a pressing issue that the team have centered on.
Facilitator tip: To make sure voting results are clear, use weighted voting. Ask your team to give 3 votes to their first choice, 2 votes to their second choice, and 1 vote to their third choice.
5. Discuss top themes to arrive at improvements and assign new tasks (30-40 mins)
The discussion phase is the real meaty part of the retrospective, when your team can huddle and identify those all-important improvements.
Discussions may seek to first diagnose why something cropped up as a problem and then search out a solution. Or if you’re celebrating, discuss how you can replicate your success in the future.
The best team retrospective discussions are when the team successfully understands problems, diagnoses their root causes, and assigns tasks to resolve issues or make improvements.
Depending on how long discussions take for each group of reflections, you may want to take the first 3-5 top voted items to discuss. This gives you roughly 10 minutes for each item, so divide your time wisely.
Don’t fall into the trap of discussing one item for more than 10 minutes. If something requires more time to discuss, take it into a Lean Coffee, organize a separate meeting with a smaller group, or resolve the issue asynchronously.
Once again, you can set a timer for each discussion point to keep your team on track.
Facilitator tip: Actively guide the team discussion by focusing on diagnosing problems, discussing solutions and setting next steps.
Calculate Your Retrospective Length with a Simple Formula
 There is no universal standard for the length of retrospectives. It’s about finding what works for your team.
But there is a rough calculation you can use to decide on your retrospective length.
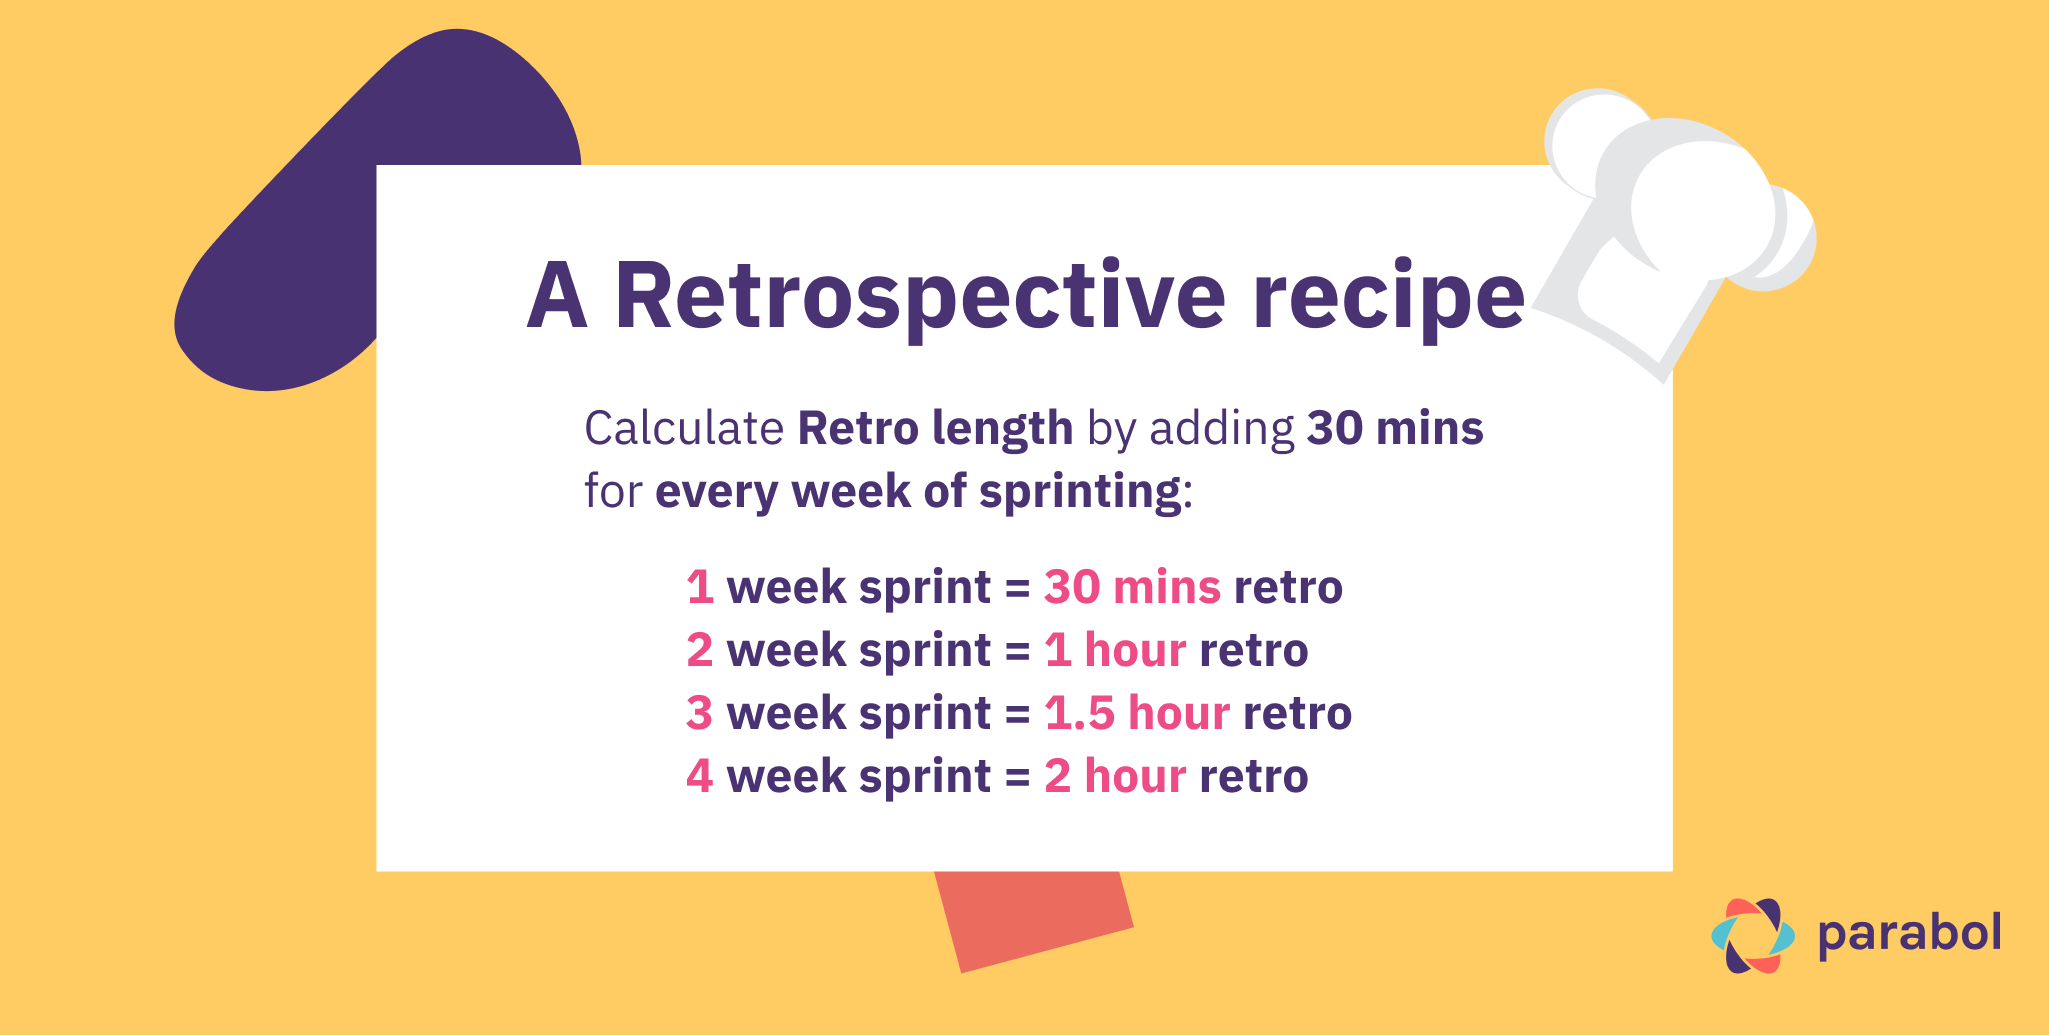
As a rule, we recommend that:
- You should run one Retrospective per Sprint
- You should apportion 30 minutes for each week of work
This means for example:
- A 2 week sprint leads to a 1 hour retrospective (2 x 30 mins)
- A 3 week sprint leads to a 1.5 hour retrospective (3 x 30 mins)
- A 4 week sprint leads to a 2 hour retrospective (4 x 30 mins)
One hour should give most teams enough time to reflect, group, vote, and work through the most pressing issues.
Using a timer for each phase will help you keep the meeting on track and set clear rules for the team about when it’s time to move on to other issues.
When to use longer retrospectives
There aren’t many scenarios where you would want to rush through the retrospective in less than an hour. But there are a few scenarios in which you might want to make your retrospectives a bit longer:
- 🔥 Running project post-mortems: If you’re running a retrospective in the style of a post-mortem on a longer project, one hour might not be long enough to realistically reflect on the course of a month or three-month-long project. Discussions may also take longer. In this case you might want to extend the meeting length or break the retrospective meeting into multiple shorter discussion meetings so everyone can maintain their focus.
- 🐣 Working with a new team: When you’re a new team, you’re bound to go through the stages of norming, forming, and storming before you start performing. Running a slightly longer retrospective of perhaps 90 minutes, helps the team invest early in resolving issues and understanding how to work together better. Longer retrospectives at this stage might help your team reach the ‘performing’ stage more quickly.
- 😬 Crisis retrospectives: Imagine something big went wrong in your Sprint. The client wasn’t happy, the release was buggy, or productivity faltered mid-sprint. In these scenarios you might want to add a bit more time into the retrospective to allow for deeper discussion of how to prevent critical issues in the future.
Exceptional situations may require exceptional solutions. So don’t be afraid of using a slightly longer retrospective if the team need time to discuss issues in more detail.
Facilitator tip: If you’re going to run a longer retrospective, consider building a break into the meeting so you are working with everyone at their best. Meetings longer than an hour can be tiring, and your team will thank you for the breather.
Wrapping Up
So how long should the sprint retrospective meeting be?
In the regular course of work, it all depends on the length of the sprint. But in exceptional situations you might want to make them a little longer.
In this article, we’ve given a breakdown of how to split your time in a one-hour retrospective, and set a few rules for how long retrospectives should take.
Remember:
- You should hold one retrospective per sprint
- Each week of sprinting equates to 30 minutes of retrospective time
Want to make sure your retrospectives are effective and balanced? Use a timer during each phase, so everyone knows how long they have to contribute on each section of the retrospective.
Now that you know how to structure and time your sprint retrospective, it will be much easier to plan your retrospectives according to the specifics of your project and the goals of your team, so you can make continuous improvement a reality!